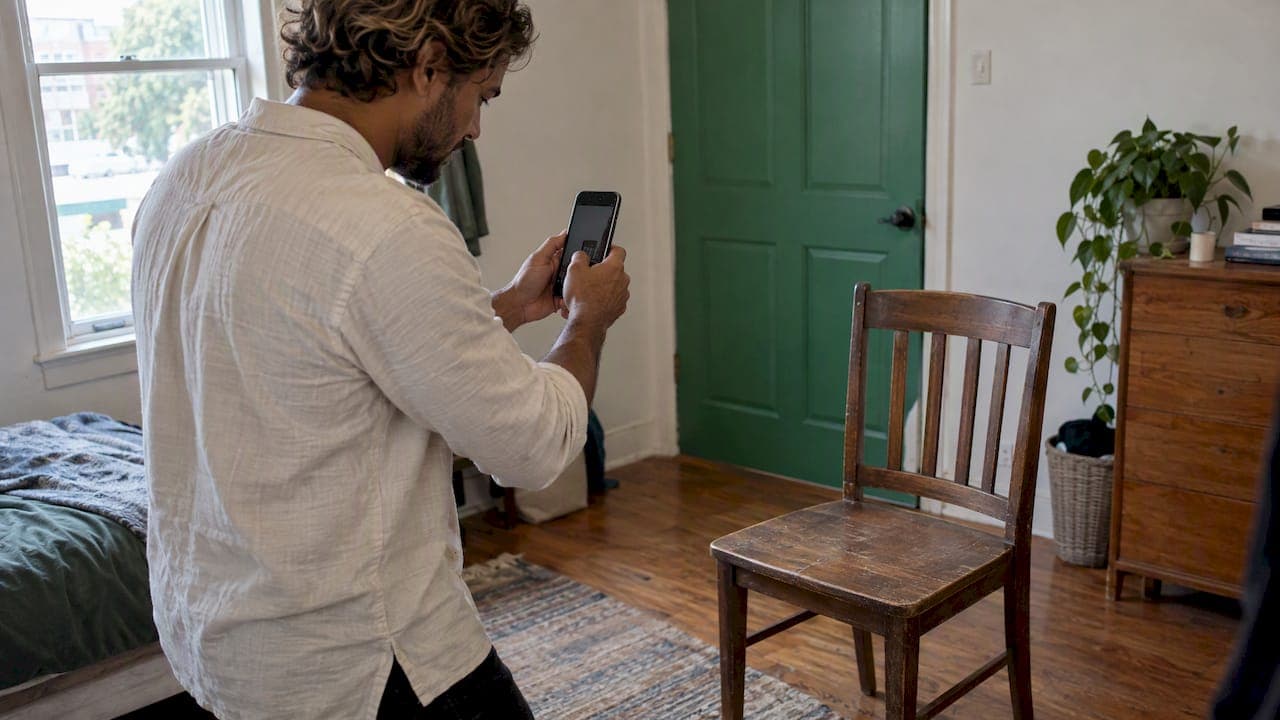
Shoot and upload listing photos at about 1,500 × 1,500 pixels or larger, in a 4:3 or square frame, saved as a JPEG under a few megabytes. That size stays sharp on a phone, survives the thumbnail crop in search results, and uploads fast. The rest of this guide covers why, how to frame the first photo, which phone settings to use, and how to handle special cases like clothing and vehicles.
TL;DR
- Aim for 1,500 px or more on the long side. Bigger is fine, smaller than 500 px is not.
- Use 4:3 landscape or a square. Crop before you upload, so the app does not crop for you.
- Make the first photo a clean, full view of the item, filling roughly 75% to 90% of the frame.
- Save as JPEG, keep files well under 16 MB (most phone photos already are), and never enlarge a small photo.
- Shoot in daylight, wipe the lens, and take 6 to 8 photos from different angles.
Table of Contents
- The short answer: the numbers to remember
- Why size matters more for local listings than you think
- Choosing the right aspect ratio
- How to frame the first photo
- Photo quality settings: sharp without huge files
- File formats and file size
- Taking clear, accurate photos of used items with a phone
- A simple workflow you can repeat for every listing
- Perspective
- Ready to list? Put your photos to work
- FAQ
- Sources
The short answer: the numbers to remember
No single rule covers every marketplace, and each app sets its own upload limits. But the large image platforms converge on the same ranges, and those ranges are a safe target for any local listing. Google's merchant guidelines are a useful benchmark because they are written for images that must look good everywhere: in a grid, on a phone, and enlarged.
| Setting | Safe target | Why |
|---|---|---|
| Dimensions | 1,500 × 1,500 px or larger | Google recommends images around 1,500 × 1,500 pixels or above |
| Absolute minimum | 500 × 500 px | The same Google page makes this a minimum from 31 January 2027 |
| Aspect ratio | 4:3 landscape or 1:1 square | Survives thumbnail crops with little loss |
| Format | JPEG | Accepted almost everywhere |
| File size | Under 16 MB; 1 to 5 MB is plenty | Google's limit is 16 MB or 64 megapixels |
| Item in frame | 75% to 90% of the picture | Fills the thumbnail without clipping edges |
A modern phone camera produces 12 megapixels or more, around 4,000 × 3,000 pixels. That is already far above the target, so you rarely need to enlarge anything. Your job is mostly to avoid losing quality, not to add it.
Why size matters more for local listings than you think
Buyers browsing nearby deals scroll fast, mostly on a phone. They see a small thumbnail first and decide in a second whether to tap. A blurry or oddly cropped thumbnail loses that tap, however good the item is.
Size matters in three places:
- The thumbnail. The first photo gets shrunk and often cropped into a square or rectangle. Low resolution and bad framing show up immediately.
- The full listing. Buyers pinch to zoom on a scratch, a stain or a serial number. If the photo is too small, the detail is mush and they message you to ask, or skip you.
- The upload. Huge files on a weak signal fail halfway. Sensible file sizes mean you can list from a driveway or a garage sale.
The right size is the one that is sharp enough to zoom and light enough to upload. For almost everyone, that lands between 1,500 and 2,500 pixels on the long side.
Choosing the right aspect ratio
Aspect ratio is the shape of the photo: width compared with height. Phones shoot 4:3 by default, which is also a ratio Google calls out as a good composition ratio for horizontal images. In its clothing guidance, Google recommends a minimum image width of 1,500 pixels, with 9:11 for vertical images and 4:3 for horizontal ones.
Here is how to choose in practice:
- Square (1:1) is the safest all-rounder. It rarely gets cropped further, and it looks tidy in a grid of listings.
- 4:3 landscape is the phone default. It fits most items such as lamps, bikes, tools, game consoles and furniture, and gives room to show context.
- Vertical (9:11 or 3:4) suits tall items like dresses, coats, floor lamps and bookcases, but check how your first photo looks as a square thumbnail.
- Avoid panoramas and 16:9 for the lead image. Wide strips get cropped hard, and the item shrinks to a sliver.
Crop first, upload second. If an app crops for you, it chooses the middle of the frame, which may cut off a handle, a plug or half a bumper. Cropping yourself keeps the decision in your hands. Most phone photo editors include a crop tool with preset ratios.
How to frame the first photo
The first photo is your ad. Google's image best practices suggest a crisp hero shot, ideally on a neutral or white background, with no text overlays or watermarks. The product should occupy no less than 75% and no more than 90% of the frame. Google also advises leaving margin so automatic crops do not slice off edges.
Turn that into a routine:
- Clear the background. Move the item in front of a plain wall, a sheet, or a clean floor. A cluttered garage behind a bike makes the bike look cluttered too.
- Show the whole item. The complete outline, nothing cut off at the corners.
- Fill the frame, leave a margin. Step closer until the item takes most of the picture, then leave a thin border.
- Skip text, stickers and filters. Prices and phone numbers on the photo look spammy and can make the picture hard to read when shrunk.
- Keep it level. Turn on the grid lines in your camera so tables and shelves do not slope.
The remaining photos can be more relaxed: back, sides, labels, the inside of a drawer, the screen turned on, and any flaws. Showing flaws up front builds trust and cuts down on "is there any damage?" messages. For how many photos to post and how to reuse them across apps, see our guide to crossposting with one master listing.
Photo quality settings: sharp without huge files
Readers often ask about "quality settings." There are two places they live: your camera and your export or compression step.
Camera settings
- Resolution: leave the main camera on its default or highest standard setting. Do not use digital zoom, which crops pixels away. Walk closer instead.
- Format: many phones save in a space-saving format called HEIF or HEIC. On an iPhone you can switch between High Efficiency and Most Compatible under Settings, then Camera, then Formats. If an upload ever fails or a photo will not display, Most Compatible (JPEG) is the safe choice.
- HDR and portrait modes: fine for most items, but check that edges look natural. Portrait mode can blur the edge of the item.
- Grid lines: turn them on.
Export and compression
If a photo is too large to upload, do not shrink the dimensions first. Lower the JPEG quality a little. A setting around 80% to 85% usually looks identical on a phone screen while cutting the file size sharply. One image-tools guide notes that a 2000 px JPEG at about 85% quality typically lands near 400 to 800 KB. Treat that as a rough guide, since busy photos with fine detail come out larger.
If you sell clothing and want a deeper look at how clear photos and fit information reduce disappointed buyers, this piece on reducing returns in e-commerce is worth a read.
Never upscale
If a photo is smaller than you need, enlarging it does not add detail. It just makes the blur bigger. The honest fix is to reshoot, closer and in better light.
File formats and file size
JPEG is the format to default to for photos, because every platform supports it. Keep PNG for graphics that need transparency, such as a logo, and rarely for item photos, since PNG files of photographs are large. Google's merchant system also accepts WebP, GIF, BMP and TIFF, but a local marketplace app usually just wants JPEG or PNG, and JPEG is the one you will never have trouble with.
For colour, export in sRGB, the standard for screens. A CMYK file, meant for print, can look dull online. Phones already shoot in sRGB-compatible profiles, so this only matters if you edit on a computer.
A practical file size range for a local listing is 500 KB to 5 MB per photo. Below 200 KB you may be losing sharpness. Above 10 MB you are wasting upload time with no visible benefit.

Taking clear, accurate photos of used items with a phone
Pixels only help if the picture is good. Used items need extra care because buyers are judging condition from the screen.
Use daylight. Place the item near a large window, or outside in open shade on a cloudy day. Direct midday sun creates harsh shadows and glare. Avoid overhead room lights, which tint colours yellow.
Clean the lens. A fingerprint on a phone lens is the most common cause of hazy photos. Wipe it with a soft cloth before you start.
Hold steady. Brace your elbows on your body or lean the phone against something. A cheap tripod helps for furniture or electronics.
Tap to focus. Touch the screen on the most important part of the item, such as the label or the screen, and slide the exposure down if the item is blown out.
Show scale. A coin, a ruler or a familiar object beside a small item helps buyers judge size. For furniture, a photo with a doorway or a person nearby works.
Be honest about colour. Warm lamps and filters change colours. If a buyer arrives and the sofa is a different shade, the sale is gone. Take one photo in plain daylight and keep it unedited.
Shoot the flaws. Close up, in focus, with light angled across the surface so scratches show. Say what the flaw is in the description, using our listing description tips as a guide.
Small, shiny or detailed items
Watches, jewelry, phones and glasses reflect everything around them, including you. Shoot them with soft, diffused light, and take extra close-ups at your highest resolution so buyers can zoom. This walkthrough on staging watch photography shows how lighting and backgrounds affect detail, and the same ideas apply to any shiny item.

Clothing
Hang it, or lay it flat on a clean floor or bed, smoothed out. Add a close-up of the tag, the fabric and any wear. Google's apparel guidance above favors vertical images around 9:11 for garments, so shoot a full-length photo and check how it looks cropped to a square.
Vehicles
For cars, motorcycles and boats, Google's vehicle image guidelines call for a 4:3 aspect ratio with a recommended resolution of 1,500 × 1,500 pixels or above. Shoot the front three-quarter angle first, then the sides, rear, interior, dashboard with the odometer, engine bay and any damage. Take them in even light, with the car on a clear surface and no other cars cutting through the frame.
A simple workflow you can repeat for every listing
- Clean the item and your lens.
- Find a plain background and daylight.
- Shoot 8 to 10 photos at the default high-quality setting, then keep the best 6 to 8.
- Crop the lead photo to a square or 4:3, with the item filling about 75% to 90% of the frame.
- Check each photo at full zoom for blur.
- Upload on Wi-Fi when you can, and confirm the first photo looks right in the preview.
When you are ready to push the listing out, our 48 to 72 hour launch plan explains how to get views while the listing is fresh. It also helps to categorize listings correctly so the right buyers see those photos.
Perspective
Most photo advice is written for stores with studios and light tents. Local selling is different: you are standing in a garage, a kitchen or a driveway, with a phone and ten minutes.
That is why we think the best listing photo is not the fanciest one. It is the one that is sharp, honest and quick to make. A buyer nearby will meet you, see the item in person and judge it on the spot, so the photo has one job: to earn the message and the visit.
Our platform is built around that local, mobile-first way of selling. Fast listing, instant chat and location-based search mean a clear first photo gets answered quickly, and a buyer can ask for one more angle and get it within minutes. Seller ratings and secure payments carry the trust from there. Get the basics right, 1,500 pixels or more, a clean square crop, daylight, and you are ahead of most listings in your area.
Marketplace
Ready to list? Put your photos to work
Once your photos are cropped and sharp, listing takes a few minutes. MarketplaceAnywhere lets you list electronics, fashion, vehicles, pets, home and garden items, hobbies, health and beauty products and entertainment, reach buyers near you, chat instantly and get paid through secure payments.

Start listing on MarketplaceAnywhere and turn the things you no longer use into cash. Not sure where to sell besides one app? Compare options in our guide to the best reselling apps for casual sellers.
FAQ
What is the best photo size for listings?
Aim for at least 1,500 pixels on the long side, ideally 1,500 × 1,500 or 2,000 × 1,500. That is sharp enough to zoom and light enough to upload. Phone photos are usually larger already, so you rarely need to resize.
Should I use 4:3, 16:9 or square photos?
Use 4:3 or square. 4:3 is your phone's default and works for most items. 16:9 is too wide and gets cropped in thumbnails, which shrinks the item.
What photo quality setting should I use?
Shoot at your phone's standard highest-quality setting and, if you must compress, export a JPEG at roughly 80% to 85% quality. That keeps the file small with little visible difference. Avoid heavy filters and digital zoom.
Is a bigger file always better?
No. Past a certain point, extra size just slows the upload. The Google limit of 16 MB or 64 megapixels is a ceiling, not a goal. Most listings look the same at 1 to 3 MB.
Can I fix a blurry photo by enlarging it?
No. Enlarging a small or blurry image adds no detail. Retake it closer, in better light, with the lens wiped.
Sources
- Image link [image_link] - Google Merchant Center Help
- Best practices for advertising clothing and accessories - Google Merchant Center Help
- Vehicle ads image guidelines - Google Merchant Center Help
- Image best practices - Google Merchant Center Help
- Marketplace Image Sizes: 14 Platforms in One Table (2026)
- Change These Smartphone Camera Settings for Better Photos in 2026